 If you want to feel good about yourself you can sponsor my bag production at http://www.justgiving.com/JoHobbs1
Monday 7 June 2010
sewing for charity
So that I can feel like I'm doing something good for society I have found an outlet for my sewing that can help a children's charity. Chicks provide free respite breaks for disadvantaged children from across the UK. As part of the experience they give each child a memory bag and are looking for people to make these bags, so I made one!
 If you want to feel good about yourself you can sponsor my bag production at http://www.justgiving.com/JoHobbs1
If you want to feel good about yourself you can sponsor my bag production at http://www.justgiving.com/JoHobbs1Wednesday 2 June 2010
My own pattern!
I've finally given in and got an iPhone. Now that I have carried it in my handbag in a sock all day (oh yes!) I realised I need a case for it. Remembering that I have lots of fabric and some wadding I thought I'd have a go myself.
Equiment:
 pencil
paper
normal scissors
Fabric scissors
Main fabric
Lining fabric
Wadding
button (or other fastening device!)
Sewing machine and thread!

 So I started by drawing round my iPhone on the paper and then adding a seam allowance. I did this twice and on the second one added a flap towards one side of the top (to provide a closing to keep the iPhone secure but allow space to plug in headphones. And then cut them out.
 I used these patterns to cut out the shapes in both lining and main fabric. Make sure to flip the pattern over between doing the lining fabric and the main fabric so that when put wrong sides together the flap is on the same side! I cut two of the non-flap pieces in the wadding, which means the flap isn't padded. Oh, and iron everything - you need flat fabric!
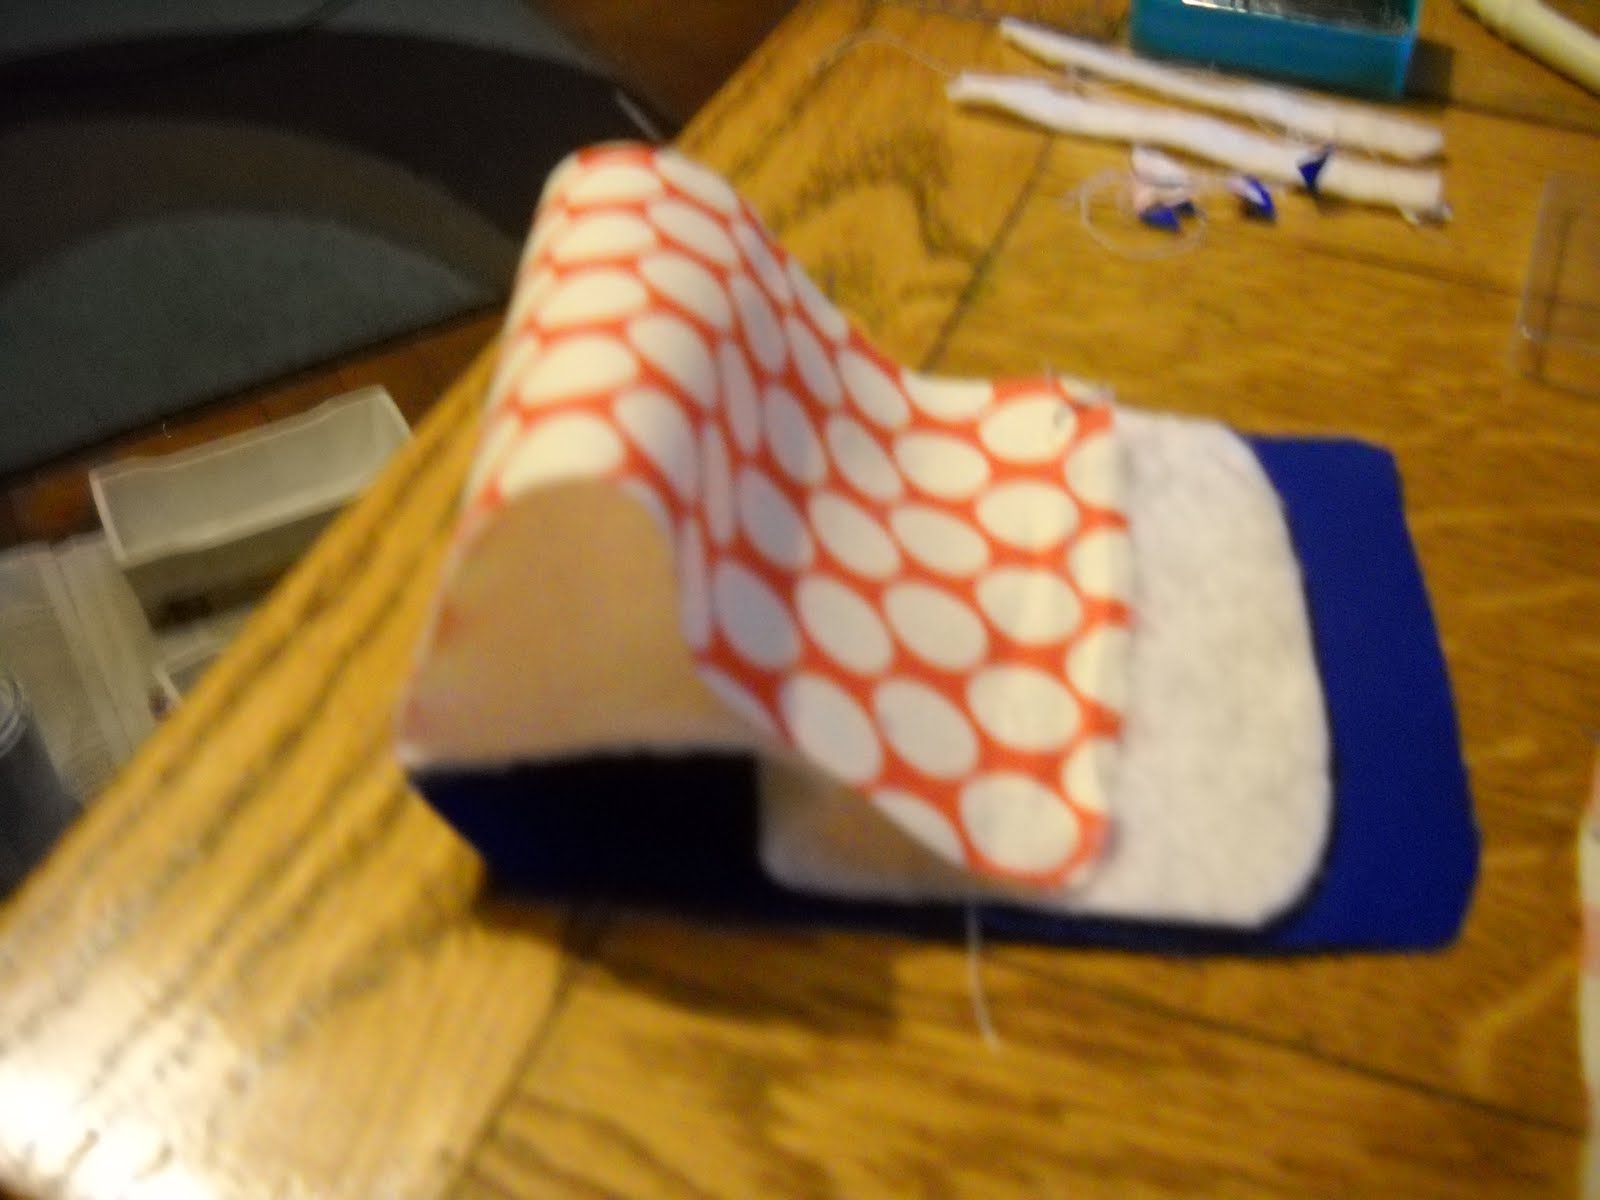 I started the sewing by putting the front main and lining right sides together and sewing across the top. Turn right sides out and you have a nice, neat top seam. Do the same with the back pieces, sewing around the flap end. Turn right sides out and make sure the flap is fully pushed out. You can then slot the wadding inbetween the front main and lining, and the back main and lining.

Subscribe to:
Posts (Atom)
